DIY Outlet In Drawer
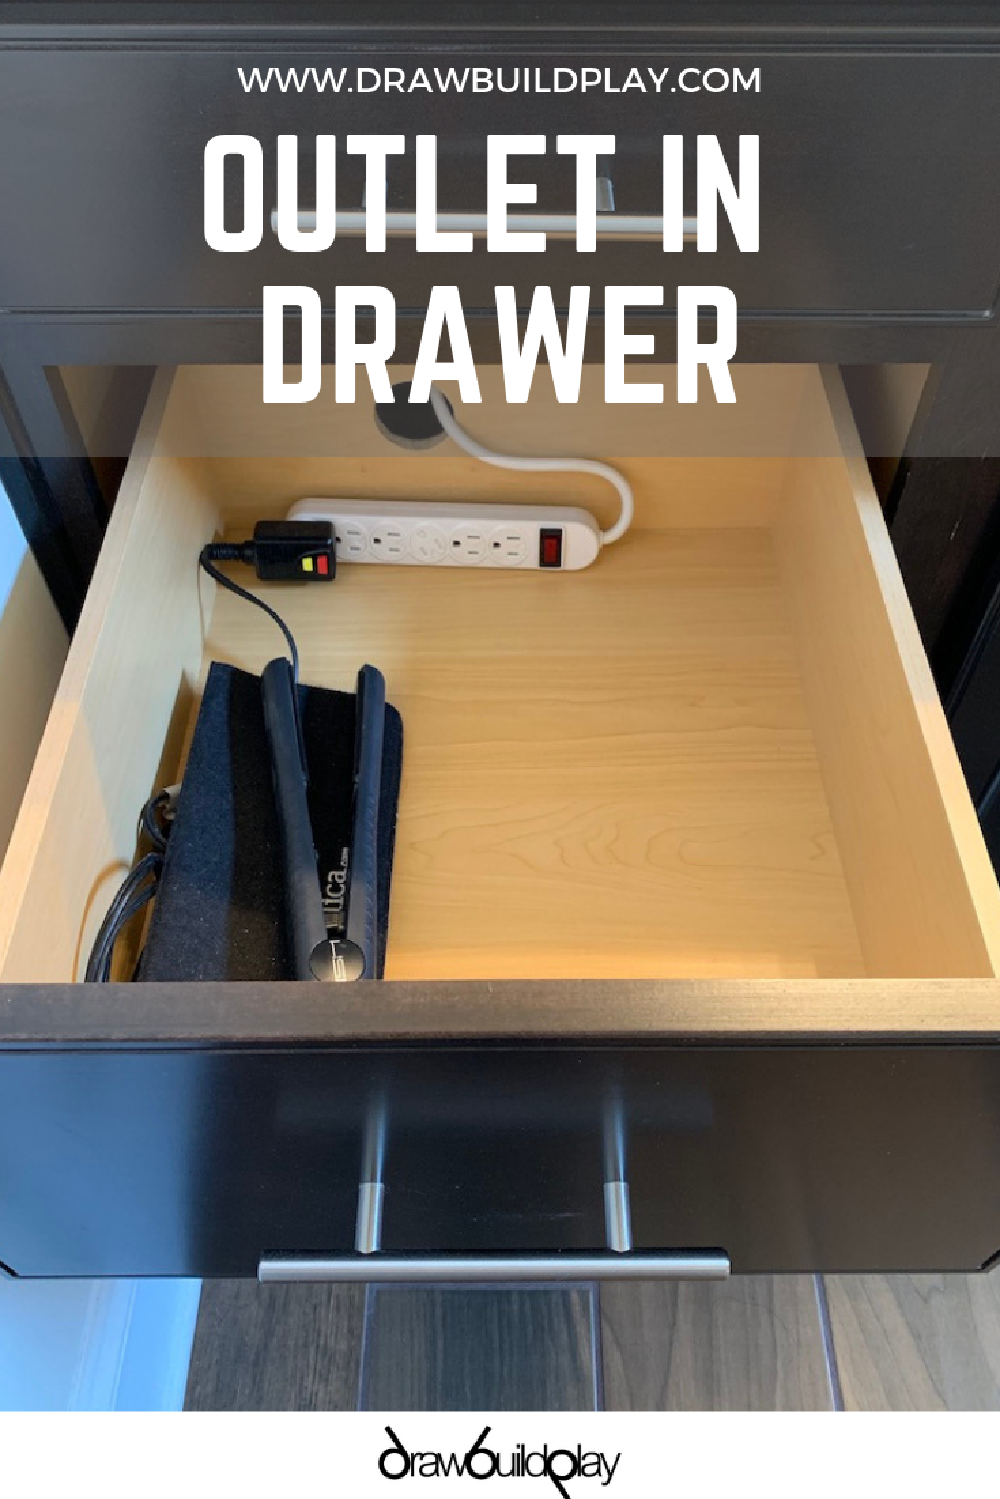
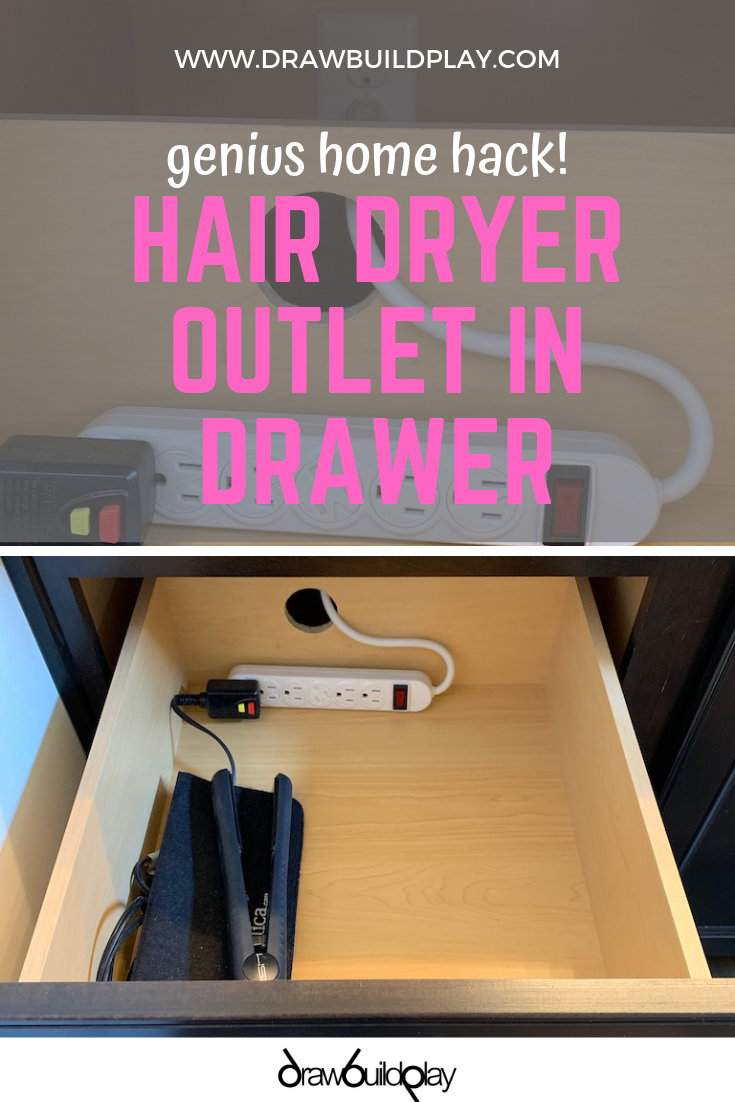
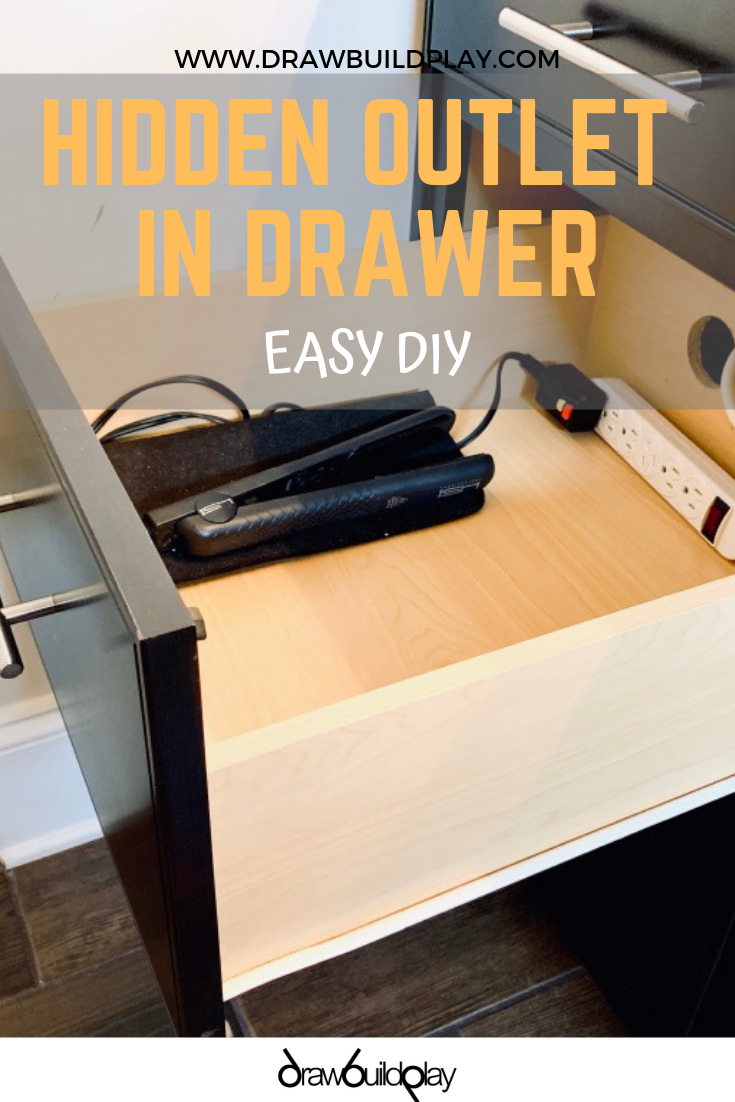
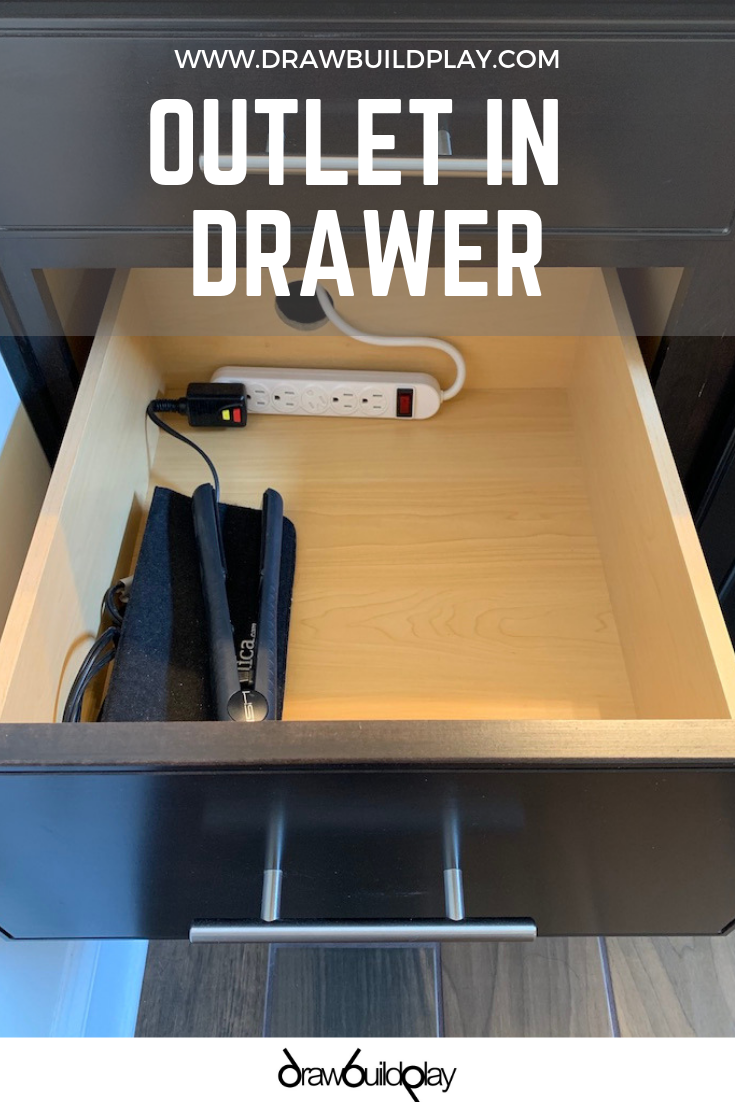
DrawBuildPlay Installing a DIY Outlet in a drawer is an easy to do DIY to give you hidden outlets in your kitchen or bathroom for your hair dryer or USB devices.A must have for any bathroom or kitchen is an outlet in the drawer. It is an incredibly useful DIY to get the hair dryer, or curling/straightening iron off the counter tops, and hidden away in the drawer. But still usable. When you need it, just open the drawer, turn on the switch, and start using it. Likewise, you can install this in your kitchen and then hide your devices in a drawer while they are charging.
Since we built our house a few years ago, we had asked the builder to install an outlet inside our bathroom cabinet. This made this DIY significantly easier for us. If you currently do not have an outlet inside your cabinet, then find where your nearest outlet is and you will likely need to drill some holes to feed the wire to it. Note - any wiring you install inside the cabinets or walls should be well insulated and graded so that you don’t burn your house down.
For our drawer outlet, I pulled out the drawer from the cabinet, and using a 2 1/2 inch drill bit blade, I created a hole to put the extension cord through. You will want to use a power outlet that has a fairly flat wire because it’s going to need to flex every time you open/close the drawer.
Materials You’ll Need
- A power strip with a flat plug
- A drill with a 2 1/2 inch drill bit
- Screwdriver
- Table saw (optional, for drawer modifications)
Once you have the hole created, feed the power strip cable through the hole and plug it in. Open and close the drawer a few times to make sure the wire is not getting in the way and stopping the drawer from closing.
At this point you are basically done. Easy right!
If you want, you can screw the power strip onto the drawer itself to stop it moving around. We didn’t do this due to laziness.
Safety Tip: Never leave a hot appliance in the drawer. Let it cool down, and make sure the power is off on both the appliance and the outlet when not in use.
If your drawer nests all the way back to the wall, not leaving any space for the power strip cable to fold into, then you may need to use a table saw and shorten the sides of the drawer by an inch, then glue/nail the back of the drawer back on so that you have the space to close the drawer. Luckily I did not need to do that with ours.
If you want to get fancier with the drawer outlet, then you can buy wall outlets/grommets that can be mounted on to the drawer.
The drawer wall outlet can then be plugged into the normal one on the wall.
Step-by-Step Installation Guide
-
Locate Your Power Source: If you have an existing outlet inside a cabinet, that’s perfect. If not, locate the nearest outlet and plan to route the wiring from there. Ensure the wiring you choose is appropriately insulated for safety.
-
Preparing the Drawer: Remove the drawer from the cabinet. Using your drill and a 2 1/2 inch drill bit, create a hole at the back of the drawer for the power strip cord.
-
Installing the Power Strip: Feed the power strip cable through the hole. Test the drawer’s functionality by opening and closing it to ensure the wire doesn’t obstruct its movement.
-
Securing the Power Strip: For added stability, you can screw the power strip onto the drawer. This step is optional but recommended.
-
Safety First: Always let hot appliances cool down before storing them and ensure both the appliance and the outlet are turned off when not in use.
-
Adjusting the Drawer (If Needed): If your drawer doesn’t have enough space to accommodate the power strip cable, use a table saw to shorten the drawer sides by an inch. Reattach the back of the drawer after modifications.
Make your DIY outlet even cooler
If you want to make this project even cooler, consider installing custom wall outlets or grommets on the drawer. These can be directly plugged into the wall, offering a nicer/cleaner look.
